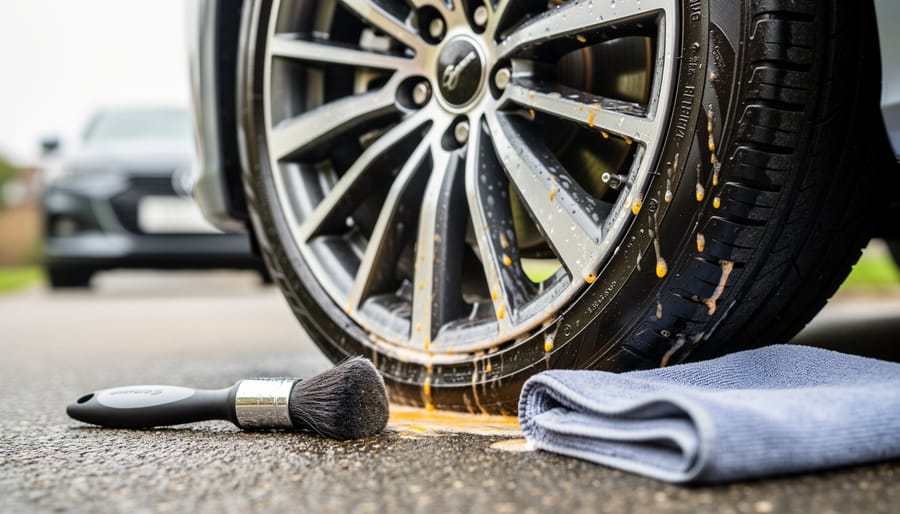

Cleaning your car’s wheels properly takes just seven straightforward steps and about 30 to 45 minutes of your time. You’ll spray, scrub, rinse, and protect, no mystery involved. This guide eliminates the confusion that comes from vague product labels and contradictory online advice, giving you a single reliable method that works every time.
If you’ve ever stood in your driveway wondering whether you bought the right cleaner, how long to let it sit, or if you’re scrubbing too hard, you’re not alone. Most people abandon their first wheel-cleaning attempt halfway through because the process feels unnecessarily complicated. The truth is simpler than you think.
This tutorial treats wheel cleaning the same way we approach teaching WordPress for beginners: break an intimidating task into small, manageable actions anyone can complete successfully. You’ll learn exactly which tools matter, which ones don’t, and how to tell when each step is actually finished. No prior experience required, and you won’t need to buy specialized equipment you’ll only use once.
By the end, your wheels will look noticeably cleaner, and you’ll have a repeatable process you can use confidently every time.
What You’ll Need to Get Started
Before you start cleaning, gather everything you need. Having the right supplies on hand makes the job easier and helps you avoid stopping mid-cleaning to search for something you forgot. Don’t worry if you don’t own specialized detailing gear yet, you can start with basics and add tools as you gain confidence.
Here’s what you’ll need, organized by purpose:
- Cleaning solutions: Dedicated wheel cleaner (spray bottle), tire cleaner or all-purpose cleaner for sidewalls
- Brushes and applicators: Wheel face brush or wash mitt, long wheel barrel brush for inner areas, stiff tire brush for rubber
- Protection items: Chemical-resistant gloves, safety glasses or goggles
- Drying materials: Two or three microfiber towels, or a leaf blower for hard-to-reach spots
The most important item is a dedicated wheel cleaner. Unlike dish soap or all-purpose cleaners, the best wheel cleaner formulas are designed specifically to dissolve brake dust and road grime without damaging wheel finishes. Look for pH-balanced options labeled safe for all wheel types if you’re unsure what your wheels are made of.
For brushes, the wheel barrel brush is essential. This long, angled tool reaches behind the spokes where brake dust accumulates heaviest. You’ll struggle to clean thoroughly without one. A soft-bristle wheel face brush protects your finish while scrubbing, and a separate stiff brush handles tough tire grime.
Gloves and eye protection aren’t optional. Wheel cleaners contain strong chemicals that can irritate skin and eyes. Wear them every time.
The good news? You don’t need expensive equipment. A basic wheel cleaning kit costs less than thirty dollars and lasts for dozens of cleaning sessions. Start with essentials now, and upgrade individual tools later if you want better results.
Important Safety and Preparation Tips
Before you start scrubbing, let’s talk safety. Wheel cleaners are powerful chemicals designed to break down stubborn brake dust and road grime, which means they can irritate your skin, eyes, and lungs if you’re not careful. Always work in a well-ventilated area, outdoors is best, and wear protective gloves to keep harsh cleaners off your hands. If you’re using a spray product, position yourself so the wind carries any mist away from your face rather than into it.
Timing matters more than you might think. Hot wheels can cause cleaners to dry too quickly, leaving stubborn spots or even damaging certain finishes. Direct sunlight creates the same problem. Give your wheels at least 30 minutes to cool after driving, and choose a shaded spot or cloudy day for cleaning. Touch the wheel face with the back of your hand, if it feels warm, wait longer.
Your prep work is simple but important. Park on a level surface with the parking brake engaged so your car stays put while you’re working around it. Make sure your wheels are cool to the touch, and have all your supplies within arm’s reach before you begin. This isn’t about adding extra steps, it’s about making the job safer and easier, much like how faster image loading on your website happens when you set things up correctly from the start. Taking two minutes now prevents frustration and potential mishaps later.
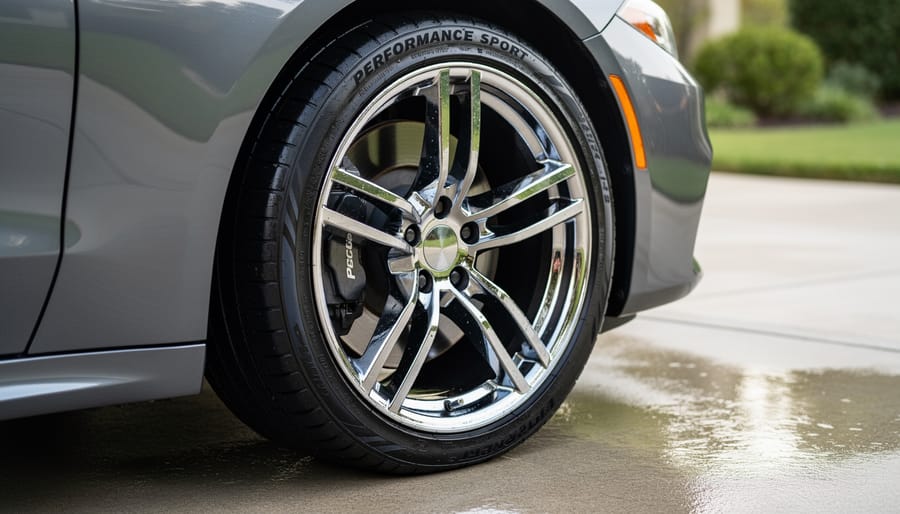
The 7-Step Wheel Cleaning Process
Step 1: Rinse Away Loose Dirt and Debris
Start by spraying your wheels with clean water to wash away the loose surface dirt. This simple first step prevents you from grinding dirt into the wheel finish when you scrub later.
Use a garden hose with a spray nozzle or a pressure washer on a medium setting (around 1200-1500 PSI). Don’t use maximum pressure directly on your wheels, as it can force water past seals or damage delicate finishes. Hold the nozzle about 12 inches away from the wheel surface.
Spray from top to bottom, working your way around the entire wheel. Pay extra attention to the spaces between spokes where dirt accumulates. Angle your spray to reach into crevices and behind the spokes toward the barrel.
You’ll see brown or black runoff as brake dust washes away. That’s normal. Keep rinsing until the water runs mostly clear, though some stubborn grime will remain for the cleaning steps ahead.
Step 2: Apply Your Wheel Cleaner
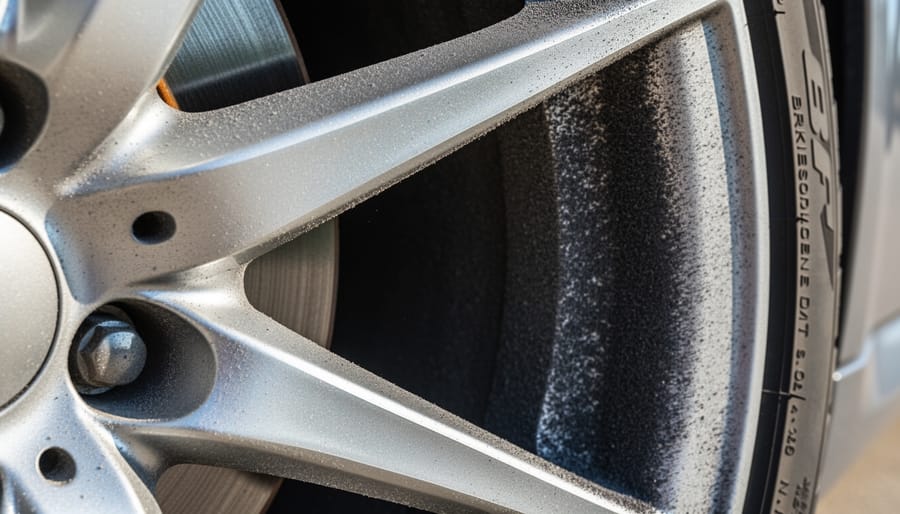
Shake your wheel cleaner bottle well before you start. This ensures the cleaning agents are properly mixed and ready to work effectively on brake dust and grime.
Hold the spray bottle about six inches from the wheel surface. Start at the top and work your way down in a sweeping side-to-side pattern. You want even coverage across all visible areas, spokes, faces, and the rim lip. Don’t soak the wheel; a light, uniform coating is enough. Most wheels need about 3-4 seconds of continuous spraying to cover fully.
Check your specific product’s label for dwell time. Most wheel cleaners work best when left to sit for 1-3 minutes, but some stronger formulas require less time. You’ll often see the cleaner change color as it reacts with brake dust, that’s normal and shows it’s working.
Set a timer if you’re worried about forgetting. Letting cleaner dry on the wheel can make rinsing harder and potentially damage certain finishes, so don’t walk away and lose track of time.
Step 3: Scrub the Wheel Face
Now that the cleaner has had time to work, grab your wheel brush or wash mitt and start scrubbing the visible face of the wheel. Work in small circular motions, applying moderate pressure. You’re not trying to scrub aggressively, the cleaner has already loosened the dirt, so you’re just helping it along.
Pay special attention to the spokes and any recessed areas where brake dust loves to accumulate. If your wheels have intricate designs or textured finishes, take your time working the brush bristles into those crevices. They trap the most grime and make the biggest visual difference when properly cleaned.
Don’t skip the lug nut areas and the outer rim lip where the tire meets the wheel. These spots collect road tar and stubborn deposits that need a bit more attention. If you encounter a particularly stubborn spot, apply a bit more cleaner directly to that area and give it another 30 seconds to work before scrubbing again.
Step 4: Clean the Wheel Barrel and Inner Areas
The wheel barrel, the inner curved surface behind the spokes, is where brake dust builds up the thickest. You can’t see it from the outside, but it’s there, and leaving it dirty means your wheels aren’t truly clean.
Grab your long, narrow wheel barrel brush. These brushes have soft bristles on a flexible handle that can bend around obstacles. Insert the brush behind the spokes and work it all the way around the inner barrel in a circular motion. You’ll feel resistance where the grime has accumulated.
Don’t be gentle here. The barrel can handle firm scrubbing, and you need that pressure to break through baked-on brake dust. Rotate the brush as you move around the wheel to reach every section. Pull the brush out occasionally to rinse it in your bucket, you’ll see how much dark residue comes off.
If your wheel design has wide gaps between spokes, you might also spot the inner wheel well (the body panel behind the wheel). Give that a quick scrub too while you’re in there.
Step 5: Scrub the Tire Sidewalls
While the wheel face is getting the attention, don’t forget your tire sidewalls. These rubber surfaces collect road grime, old tire dressing, and that telltale brown discoloration that makes even clean wheels look neglected.
Grab your tire brush, it should have stiffer bristles than your wheel brush since rubber can handle more aggressive scrubbing. Spray tire cleaner or your wheel cleaner directly onto the sidewall, then scrub in back-and-forth motions from the tread down to the rim. Work your way around the entire tire, paying extra attention to any raised lettering or textured areas where dirt loves to hide.
You’ll see brown, grimy water running off as you scrub. That’s exactly what you want. If your tires are especially dirty, don’t hesitate to reapply cleaner and scrub again.
Once clean, you can apply tire dressing later for that deep black finish, but that’s optional and comes after everything is rinsed and dried.
Step 6: Rinse Thoroughly
Once you’ve finished scrubbing, it’s time to rinse away all the cleaner and loosened dirt. This step matters more than you might think, leftover soap residue can dry on your wheels and leave streaks or spots that defeat the whole purpose of cleaning.
Start rinsing at the top of the wheel and work your way down, letting gravity help you. Use steady water pressure from your hose or pressure washer, making sure you’re hitting every section of the wheel face, between the spokes, and around the barrel. Move the spray nozzle in overlapping passes so you don’t miss any spots.
Pay special attention to crevices and textured areas where soap likes to hide. Tilt your head and look at the wheel from different angles, you’ll often spot sudsy pockets you missed on the first pass.
Rinse the tire sidewalls completely too. When the water runs clear and you don’t see any foam or bubbles anywhere on the wheel or tire, you’re done with this step.
Step 7: Dry the Wheels
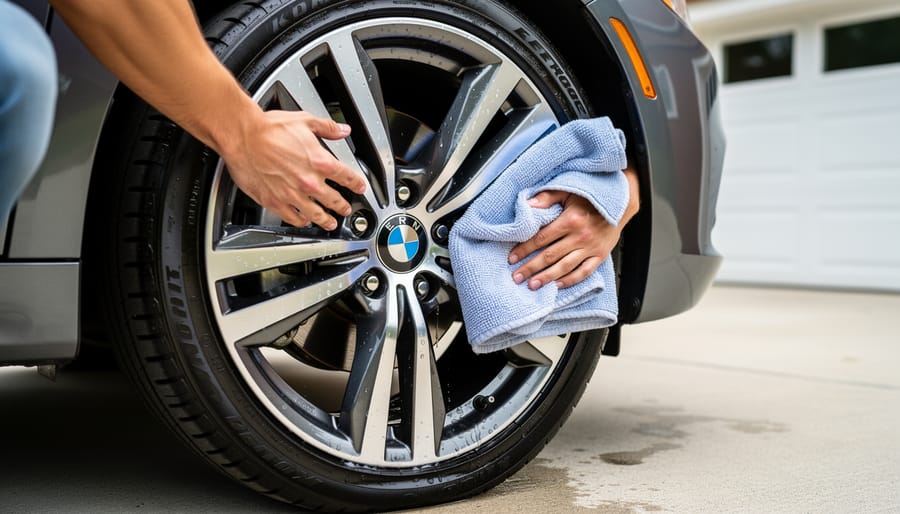
After rinsing away all the cleaner and dirt, drying your wheels properly prevents water spots and gives you that showroom finish. Don’t skip this step, especially if you have hard water in your area.
Grab a clean microfiber towel dedicated to wheels and wipe down each wheel face thoroughly. Work systematically around the spokes and into the crevices where water loves to hide. Press the towel gently into the tight spaces between spokes to soak up pooled water.
Pay special attention to the lug nut recesses and any decorative details on your wheels. These spots trap water and will leave ugly mineral deposits if left to air dry.
For wheels with intricate designs or deep barrels, a leaf blower or dedicated car dryer makes the job much easier. Direct the airflow into the spokes and behind them to blast out trapped water you can’t reach with a towel.
If you notice water spots forming as you work, you missed some water. Go back and dry those areas immediately while they’re still damp rather than trying to remove dried spots later.
How to Tell Your Wheels Are Properly Clean
After you finish drying, take a moment to inspect your work. This quick check helps you catch any spots you might have missed and confirms the wheels are truly clean.
Here’s what properly cleaned wheels should look like:
- No orange or brown brake dust residue visible on the wheel face or between spokes
- Even, consistent shine across the entire wheel surface without dull patches
- Clean, dark tire sidewalls free of brown streaks or road film
- No water spots or soap residue, especially in crevices and around lug nuts
Walk around your vehicle and view each wheel from different angles. Crouch down and look at the wheel barrels through the spokes. If you spot lingering dirt in tight spots or notice the wheel looks clean from one angle but grimy from another, that’s normal for your first few attempts. Simply go back to the relevant step and give that area another quick scrub and rinse.
The inner barrel is the most commonly missed area because it’s hard to see. Run your finger along the inside edge behind the spokes. If it comes away dirty, hit it again with your barrel brush.
Don’t worry if your first cleaning takes longer or requires touching up a few spots. You’re building muscle memory for how much pressure to use, which angles reach the tricky areas, and how your specific wheels respond to cleaning. By your third or fourth cleaning session, you’ll move through the steps much faster and catch problem areas automatically.
What to Do Next (and How Often to Clean)
Now that you’ve completed your first wheel cleaning, you might be wondering how often you need to repeat this process. The answer depends on your driving conditions, but most drivers should aim to clean their wheels every 2-4 weeks.
If you drive frequently in heavy traffic, live in an area with lots of road salt (especially during winter), or notice brake dust accumulating quickly on your wheels, clean them every two weeks. For lighter driving conditions or garage-kept vehicles, once a month is usually sufficient. The key is consistency rather than perfection.
Here’s the good news: regular cleaning actually makes each session faster and easier. When you clean wheels every few weeks, brake dust and grime don’t have time to bake onto the surface and bond permanently. What takes 30 minutes today might only take 15 minutes next time because you’re removing fresh buildup instead of scrubbing hardened deposits.
Consider applying a wheel sealant or ceramic coating after your next cleaning. These protective products create a barrier that repels brake dust and road grime, making future cleanings even simpler. You’ll spend less time scrubbing because dirt can’t grab onto the sealed surface as easily.
Think of wheel maintenance like updating your WordPress skills. Small, regular practice sessions build competence and confidence far better than ignoring the task for months and then facing an overwhelming challenge. Set a recurring reminder on your phone every three weeks, and you’ll never again wonder if it’s been too long.
Common Questions About Wheel Cleaning
Cleaning wheels for the first time brings up plenty of questions, and that’s completely normal. Below are answers to the concerns beginners ask most often, so you can clean your wheels with confidence.
Can I use dish soap instead of wheel cleaner?
Dish soap can work in a pinch for light dirt on well-maintained wheels, but it won’t break down heavy brake dust or road grime as effectively as a dedicated wheel cleaner. For your first proper clean, a pH-balanced wheel cleaner will give you much better results and make the job easier.
What if I don’t have a special wheel brush?
You can start with a soft sponge or an old wash mitt for the wheel face, though a proper wheel brush reaches crevices better. For the barrel, a long-handled toilet brush (new, obviously) actually works surprisingly well as a budget alternative until you’re ready to invest in specialized tools.
Is this safe for all wheel types?
Most modern wheel cleaners are safe for clear-coated alloy, painted, and chrome wheels, but always check the product label first. Avoid acidic cleaners on bare aluminum or polished wheels without a protective coating, as they can cause etching or discoloration.
How do I tackle really dirty or neglected wheels?
For wheels caked with months of brake dust, you may need to repeat the cleaning process twice or let the cleaner dwell a bit longer (but never let it dry on the surface). Work in sections if needed, and consider a stronger degreaser for extremely stubborn buildup, testing it on a small area first.
What about winter salt buildup?
Road salt requires extra attention because it’s corrosive if left on wheels. Rinse your wheels thoroughly after winter drives, and clean them more frequently during salt season, ideally every week or two to prevent long-term damage.
How do I know if I’m scrubbing too hard?
If you’re using appropriate brushes and cleaners, you shouldn’t need aggressive force. Firm, steady pressure in circular motions is enough. If nothing’s coming off, let the cleaner work longer rather than scrubbing harder, which could scratch the finish.
Remember, everyone starts somewhere, and these questions show you’re thinking carefully about the process. The more you clean your wheels, the more intuitive these decisions become, just like learning any new skill. If something doesn’t feel right or a product’s instructions conflict with what you’ve read here, trust the product label first since formulations vary.